This is the second pocket page in a series about our 2016 ride on the Kilimanjaro Safari attraction.

I actually batch processed this series of pages: I laid out empty pocket pages (two of each so that I could do fronts and backs at the same time, placed my photos, and chose background papers all together.

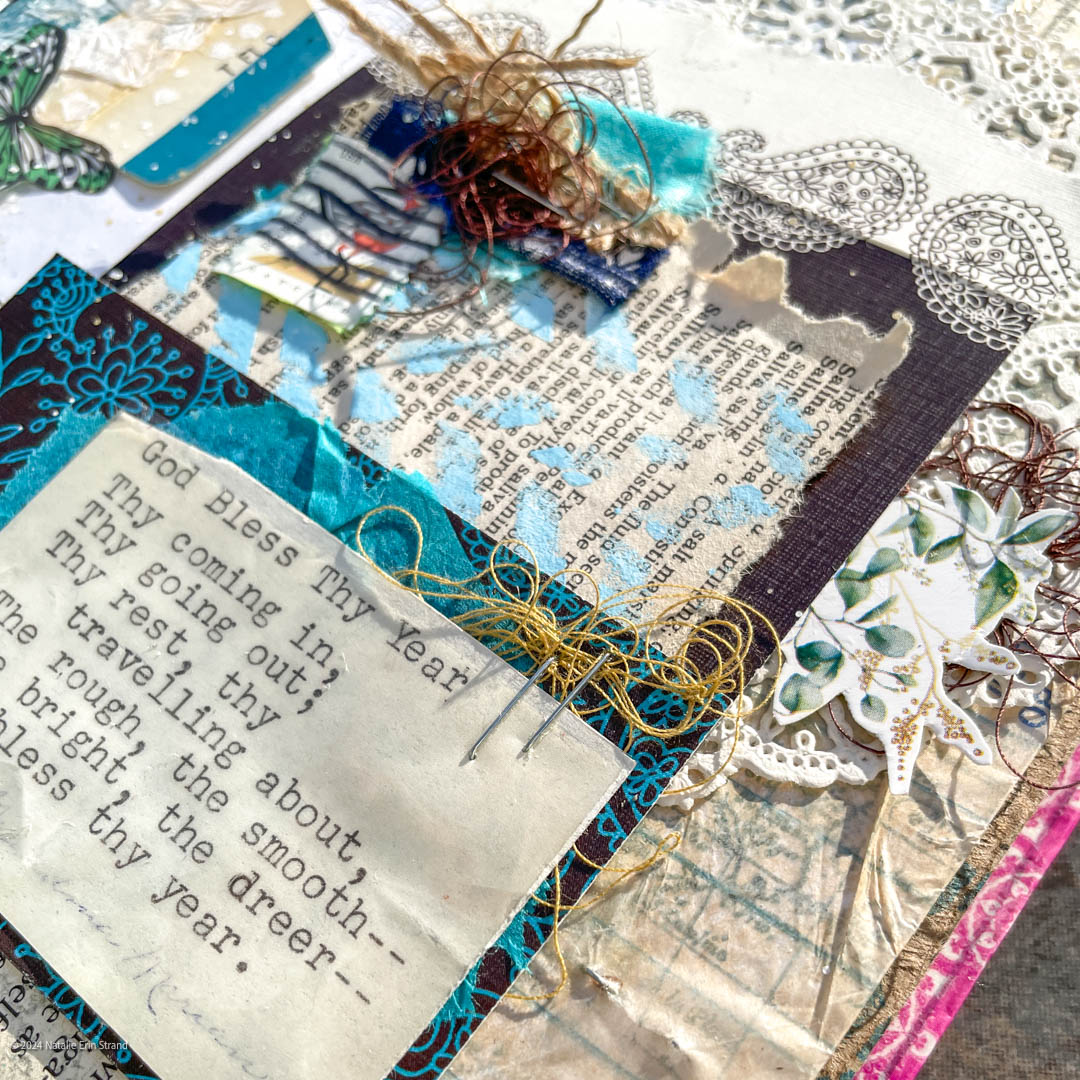
The next step was to determine where I wanted to place embellishments and start assembling my clusters.

Once the clusters were approximately in place, I added my journaling. Once those steps were finished, I completed each page individually, adhering everything together and fine-tuning all the placement.
Here are the details for this second page in the series: